


Overview
A gift certificate is a store credit you sell to a customer, or issue yourself, that the recipient spends at checkout. The balance sits in the recipient’s customer account, so nothing is lost if they do not spend it all in one order.
You can:
- Sell gift certificates from a dedicated store front page, at the denominations you choose
- Issue them by hand to one customer, a user group, or every active customer
- Upload a batch of them from a CSV file
- Set an expiry period, and extend the expiry date of many certificates at once
- Decide which categories they may be spent on, and the minimum order value needed to redeem
- Notify the recipient, the purchaser, and send every holder a monthly balance summary
- Track every certificate and every movement on it, and export the list to CSV
- Void a certificate without losing its record
With the add-on modules you can also sell in more than one currency, let the customer choose a card design, and let the customer choose the day the gift arrives.
This document cover:
Part 1: Standard Gift Certificate
Everything in this part is included in the Gift Certificate module. No add-on is needed.
Setting Up the Gift Certificate Page
- Navigate to Dashboard > Settings > Marketing > Gift Card.
- Enter Gift Certificate Branding. This is the name your customers see everywhere — the store front page, the checkout, their account and the emails. Enter Gift Card, Gift Voucher, or whatever suits your store.
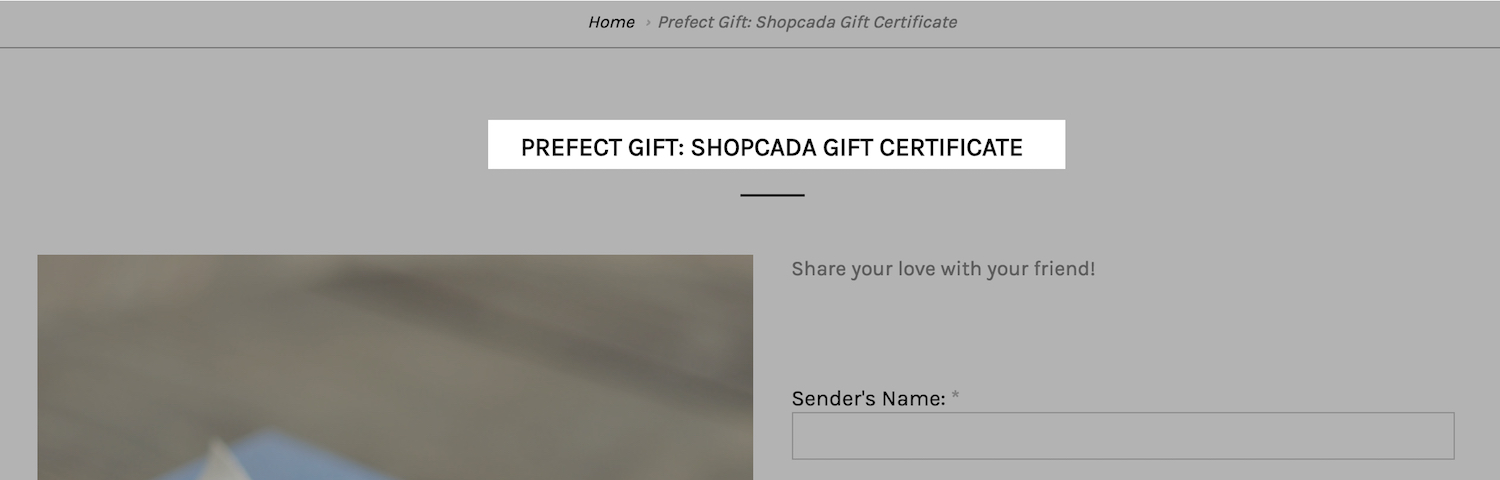
- Enter Gift Certificate Page Title to show on the store front page.
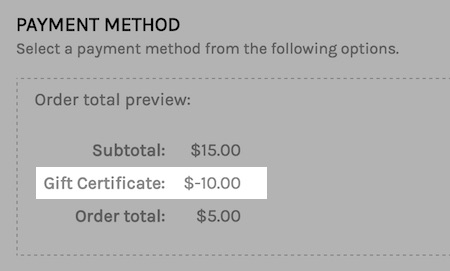
- Enter Invoice Line Item Title. This labels the deduction row on the checkout page, the order detail page and the invoice.
- Upload the Gift Certificate Image to show on the store front page. Optimum image size is 550 x 750 px and the file must be under 2 MB.
- Enter the Available Denomination your customer may choose from. One amount on each line, without the currency sign.
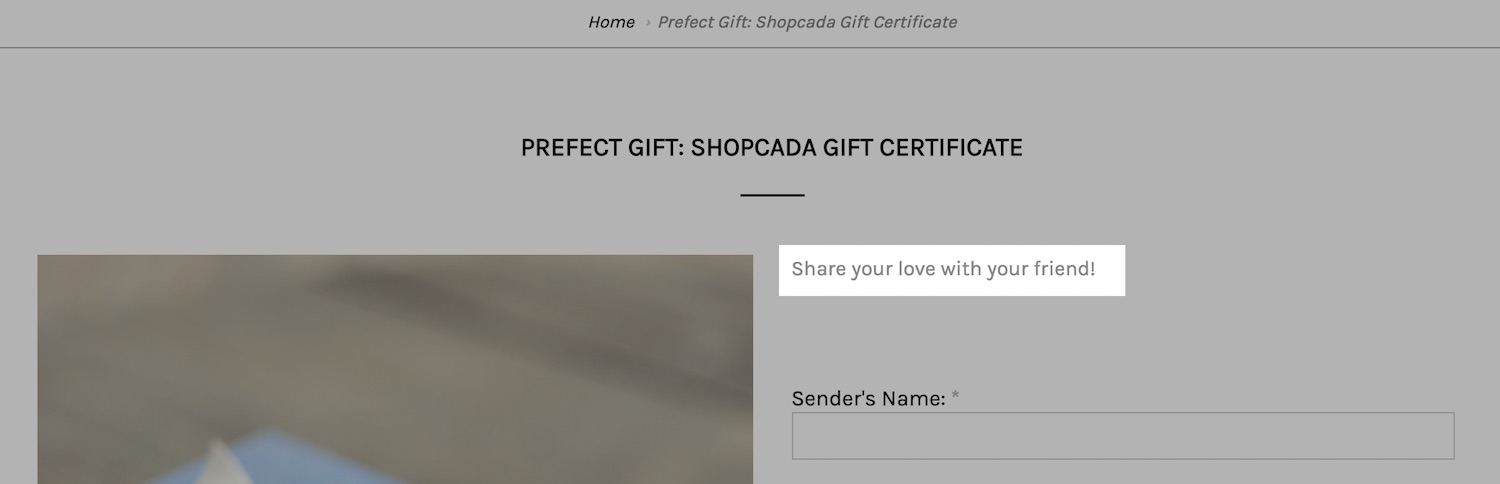
- Enter the Gift Certificate Page Description to show on the store front page.
- Select how long a certificate lasts from Gift Certificate will expire on. The choices run from Never and 1 Day through to 3 Years. The clock starts when the certificate is created.
- Switch on List Gift Certificates on User Account Page if you want the customer to see each certificate and its remaining value in their account, not only their total balance.
- Enter the Add To Cart Button Label for the store front page. This field is required.
- Click Save.
Checkout Wording
A customer holding a balance sees a redemption box at checkout. The Checkout Page section controls its wording.
| Field | Description |
|---|---|
| Use Gift Certificate Description | The paragraph above the redemption box. Default: You have !gift_certificate_amount worth of !gift_certificate. You may choose the amount you want to apply to your order today. |
| Use Gift Certificate Checkbox Title | The label on the tick box that opens the amount field. Default: I’d like to use my !gift_certificate today |
| Use Gift Certificate Amount Field Title | The label on the amount field. Default: !gift_certificate amount to use today |
Two replacement variables work in these fields. !gift_certificate prints your Gift Certificate Branding, and !gift_certificate_amount prints the balance the customer has available. The amount variable works in the description field only.
The customer types the amount they want to use and clicks Redeem. They do not have to spend the whole balance in one order.
Redemption Settings
This section decides where a balance may be spent.
| Setting | Description |
|---|---|
| Allow Gift Certificate to be used together with Store Credit | On by default. Switch it off to stop a customer combining both credits in one checkout. Only shown if your store has the Store Credit module. |
| Allow Gift Certificate to be used to purchase Gift Card | Off by default, so a customer cannot buy a new gift certificate with an existing balance. Switch it on to allow it. |
| Categories / Collections Ineligible for Gift Certificate Redemption | Select the categories a gift certificate may not pay for. You can select more than one. |
| Minimum Purchase Amount to redeem Gift Certificate | The cart must reach this amount before the redemption box appears. Leave it empty for no minimum. |
Mixed carts still redeem. If the cart holds products from both eligible and ineligible categories, the customer can still redeem. The value of the ineligible items is simply left out when the maximum redeemable amount is worked out.
Enabling the Notifications
- Navigate to Dashboard > Settings > Marketing > Gift Card and scroll to Email Notification.
- Enable and edit the three emails.
| Description | |
|---|---|
| New Gift Certificate Notification to Recipient | Sent to the recipient once the purchaser has paid. On by default. This is often your store’s first contact with a potential customer, so customise it well — a good first impression gives the recipient the confidence to shop with you. |
| Gift Certificate Delivered Notification to Purchaser | Sent to the purchaser to confirm the recipient has been notified. Off by default. |
| Gift Certificate Monthly Summary | Sent on the 1st of each month to every customer holding an unspent, unexpired balance, listing each certificate and its expiry date. Off by default. |
You can also reach these three emails from Dashboard > Settings > Emails > Email List. See Replacement Variables for the Emails for the tokens you can use in them.
Every customer is opted in to the monthly summary. A customer can switch it off with the Receive monthly credits summary preference on their account, which covers every monthly balance summary your store sends, not gift certificates alone.
How Your Customer Buys One
Your gift certificate page sits at /gift-certificate on your store. Link to it from your menu or your footer.
The customer fills in the Sender’s Name and Sender’s Email Address, the Recipient’s Name and Recipient’s Email Address, a Message To Recipient, and the Amount from the denominations you set. All of these are required. They then click your Add to cart button and pay as normal.
Once the order is paid, the certificate is created and the recipient is emailed. If the recipient’s email address does not yet have a customer account, one is created for them and their login details are sent in a separate email.
Issuing a Gift Certificate Manually
Use this to give a certificate away — a goodwill gesture, a prize, or a campaign to a whole user group.
- Navigate to Dashboard > Marketing > Gift Certificates.
- Click Add Gift Certificate.
- Enter the Gift Certificate Name. This appears in the customer’s account and in your certificate list, so make it recognisable, for example Chinese New Year 2026 Goodwill.
- Enter the Purchaser Email Address. This records who the certificate came from. Type the email address, or type the customer’s first or last name to search for it. The address must belong to an existing customer account.
- Under Select the preferred option to add gift certificate to user(s), choose who receives it. There are 4 options.
| Option | Description |
|---|---|
| Specific User | For one customer. Enter the email address, or type their first or last name to search for it. |
| Group of Users by Email | For a list of customers. Enter one email address on each row. |
| Specific User Group | For one user group, for example VIP Member. |
| All Active Users | For every active customer in your store. A warning appears when you pick this option. |
- Enter the Certificate Value.
- Enter the Expiry Date. Leave it empty and the certificate never expires.
- Enter the Message to recipient.
- Tick Email the recipient to send the recipient notification straight away.
- Click Submit.
Every recipient must already have a customer account. If you use Group of Users by Email and an address has no account, that address is listed back to you as an error and skipped. The rest of the list is still issued.
Issuing to more than 50 customers runs as a background batch. Leave the page open until it finishes.
Uploading Gift Certificates in Bulk
Use a CSV file when each customer needs a different amount, name or expiry date.
- Navigate to Dashboard > Marketing > Gift Certificates > Batch Upload Gift Certificates.
- Prepare your CSV file. The first row must be the column names, spelled as below.
| Column Name | Type | Description |
|---|---|---|
| Required | Customer’s email address to be given the gift certificate. | |
| Gift Certificate Name | Required | Gift certificate name. |
| Amount | Required | Gift certificate amount without currency sign or currency code. |
| Currency | Optional | Currency code, for example SGD, MYR, USD, AUD. Only appears if you have the Multi-Currency add-on. |
| Expiry Date | Optional | Date format YYYY-MM-DD. Leave it blank to use your default expiry period. |
- Choose the CSV File.
- Tick Notify customer about the newly uploaded gift certificate to email every recipient.
- Click Upload.
Shopcada reports how many certificates were created. Any row that failed is counted separately, with a Download Report link giving you the failed rows and the reason for each one. Correct those rows and upload the file again.
Managing Issued Gift Certificates
Navigate to Dashboard > Marketing > Gift Certificates to see every certificate in your store.
What the List Shows
Each row shows:
- Name
- Purchaser and Recipient
- Status
- Original Value and Remaining Value
- Created On and Expire On
| Status | Meaning |
|---|---|
| Available | The certificate still has a balance and has not expired. |
| Used | The balance is fully spent. |
| Expired | The expiry date passed while a balance was still on it. |
| Void | You voided the certificate, or the order that bought it was cancelled. The customer can no longer see or spend it. |
Finding a Certificate
- Only available certificates are listed by default. Fully used, expired and void certificates are hidden.
- To see them, set the Include Fully Used, Expired and Void Certificate filter to Yes.
- Filter by Purchaser, Recipient, Certificate Name or Order ID to find a particular certificate.
- Use Created Date Between or Expiry Date Between to narrow the list to a date range.
- Download the filtered list as a CSV file.
Editing a Certificate
- Click the pencil icon on the row.
- You may change the name, the owner’s email address, the original value, the remaining value and the expiry date.
- Click Resend Email to send the recipient notification again.
- A void certificate cannot be edited.
Viewing the History
- Open the three dots menu on the row and click History.
- The history records every movement on the certificate — when it was created, edited, redeemed, refunded or voided, the value before and after, and the order involved.
If an order paid with a gift certificate is cancelled, the amount taken from the certificate is returned to it automatically. The refund shows in the certificate’s History.
Voiding a Certificate
Gift certificates are voided, not deleted, so their record is always kept.
- Open the three dots menu on the row and click Void Gift Certificate.
- Type VOID in the textbox, then click CONFIRM.
Once a certificate is voided:
- It stays in your list with status Void.
- The void is recorded in its History. The Operation column shows admin_void.
- The customer can no longer see it in their account or spend it at checkout.
- It cannot be edited or voided again.
A void cannot be undone. To give the customer the value back, issue a new gift certificate.
You do not need to void a certificate when you cancel the order that bought it. It is voided automatically, and its History shows order_cancel_void.
Extending Expiry Dates in Bulk
Use this to give your customers more time, for example after a store closure or a delayed campaign.
- Navigate to Dashboard > Marketing > Gift Certificates > Extend Expiry Date.
- Set Expiry date from and Expiry date to to select the certificates you want to extend.
- Enter the Length of extension in days.
- Click Review before Proceed. Shopcada tells you how many certificates will be extended.
- Click Proceed to apply the extension.
Only certificates that still have a balance are extended. The new expiry date is the old one plus the number of days you entered, and each extension is written to the certificate’s History.
Part 2: With Multi-Currency
With the Multi-Currency add-on your store can sell and hold gift certificates in every currency you trade in.
What Changes in Your Settings
- Navigate to Dashboard > Settings > Marketing > Gift Card.
- Available Denomination becomes one field per currency, each labelled with its currency code — Available Denomination (SGD), Available Denomination (MYR), and so on. One amount on each line, without the currency sign.
- Minimum Purchase Amount to redeem Gift Certificate also becomes one field per currency. Set the minimum separately for each one.
- Click Save.
Leave a currency’s denomination field empty and that currency falls back to your default currency’s list of amounts. Set a list for every currency you sell in, so the amounts stay round numbers.
What Changes for Your Customer
- The gift certificate page shows the denominations of the currency the customer is browsing in.
- The certificate is issued in the currency of the order that bought it.
- A certificate can only be redeemed against an order in the same currency. An SGD certificate cannot pay for an MYR order.
- A customer holding certificates in more than one currency sees a separate balance for each currency in their account, and at checkout sees only the balance that matches the order.
Issuing in Another Currency
- Use Batch Upload Gift Certificates and fill in the Currency column with the currency code you want. This is the way to issue a certificate in a currency other than your store default.
- Add Gift Certificate always issues in your store’s default currency. There is no currency field on that form.
Part 3: With Design Selection and Delivery Date
These two add-ons make the gift certificate feel like a gift. The customer picks the card design, sees a live preview of it, and chooses the day it reaches the recipient.
Adding Your Gift Card Designs
With the design selection add-on, the single Gift Certificate Image is replaced by a library of designs, and the customer chooses one when they buy.
- Navigate to Dashboard > Settings > Marketing > Gift Card. A Gift Certificate Images table appears at the top of the page.
- Click the link to add an image.
- Enter the Gift Certificate Image Title, for example Christmas 2026. The customer does not see this title, but it identifies the design for you.
- Choose the image file. It must be an image under 2 MB. Shopcada resizes it to 2000 px wide, so upload a wide, high resolution file.
- Leave This gift certificate image is available for customer to select ticked to publish the design. Untick it to retire a seasonal design without deleting it.
- Click Submit.
Back on the settings page, the Gift Certificate Images table lists every design with its preview, title, created date and whether it is shown. Drag the rows to set the order the designs appear in on the store front page, click Edit to change a design, or tick Remove and save to delete one.
The Gift Certificate Image upload field is hidden while this add-on is on. All designs are managed in the Gift Certificate Images table instead.
On the store front page, the customer sees your designs as thumbnails, picks one, and sees it previewed with the amount, the recipient’s name, the message and the sender’s name filled in as they type.
Letting Customers Choose the Delivery Date
With the delivery date add-on, a Delivery Date field is added to the gift certificate page. The customer buys today and the gift arrives on the day they choose.
- The customer picks a Delivery Date on the gift certificate page. The field is optional.
- The earliest date they may choose is tomorrow. Leave the field empty and the gift certificate is delivered as soon as the order is paid, exactly as it is without the add-on.
- The chosen date is shown on the order, so you and your customer can both see it.
- On the chosen date, Shopcada creates the certificate and emails the recipient. Nothing reaches the recipient before then.
- If the order is cancelled before the delivery date, no certificate is issued.
A scheduled certificate does not exist until its delivery date. It will not appear in your Gift Certificates list, and the recipient will not see a balance, until that day. The order itself is paid and complete from the start.
The expiry period is counted from the delivery date, not the purchase date, because that is the day the certificate is created.
Replacement Variables for the Emails
Use these tokens in the three gift certificate emails to personalise them.
| Token | What it prints |
|---|---|
| [gift-cert-id] | The certificate’s ID. |
| [gift-cert-value] | The certificate’s original value, with the currency. |
| [gift-cert-message] | The message to the recipient. |
| [gift-cert-sender-name] | Sender name. |
| [gift-cert-sender-email] | Sender email. |
| [gift-cert-recipient-name] | Recipient name. |
| [gift-cert-recipient-email] | Recipient email. |
| [gift-cert-expiry-date] | Expiry date, or (no expired date) if the certificate never expires. |
| [gift-cert-delivery-date] | The delivery date the customer chose. Needs the delivery date add-on. Preview the email before you use this one — it prints the raw stored date value. |
| [gift-cert-login] | A link for the recipient to log in and start shopping. |
| [gift-cert-summary] | A table of all the customer’s certificates and balances. For the monthly summary email only. |
| [gift-cert-image] | The card design the customer selected. Needs the design selection add-on. |
| [gift-cert-image-background-code] [gift-cert-image-font-code] |
The background and text colour codes saved against the selected design, for styling the email around the card. Needs the design selection add-on. |
Important Notes
- A gift certificate is a balance, not a code. It is held in the recipient’s customer account, and the recipient must be logged in to spend it. Make sure your emails carry the [gift-cert-login] link.
- Every recipient needs a customer account. When a certificate is bought from your store front page, an account is created for the recipient automatically and their login details are emailed separately. When you issue by hand or by CSV, the account must already exist.
- Leaving the expiry date empty when you issue by hand means the certificate never expires. It does not fall back to your default expiry period. A blank Expiry Date column in a CSV upload does fall back to the default.
- Expiry is set when the certificate is created and does not change later if you edit your default expiry period. Use Extend Expiry Date to move dates on certificates that already exist.
- A balance can be spent across several orders. The customer chooses how much to apply each time.
