Topics for manage home page banner:
- How to upload home banner
- How to add home banner text
- Arrange banner display sequence
- Remove banner
- Banner Setting 1: Enable Pager
- Banner Setting 2: Enable Previous/Next Control
- Banner Setting 3: Enable Banner Swipe
- Banner Setting 4: Enable Banner Description
- Banner Setting 5: Slideshow Interval
Home banners are important to your website. Visitors are usually very impatient and they want to know if you offer what they are looking for.
Hence, using a straight forward banner design is very important, for you to communicate and to retain visitors, prolong their visit at your website as fast as possible.
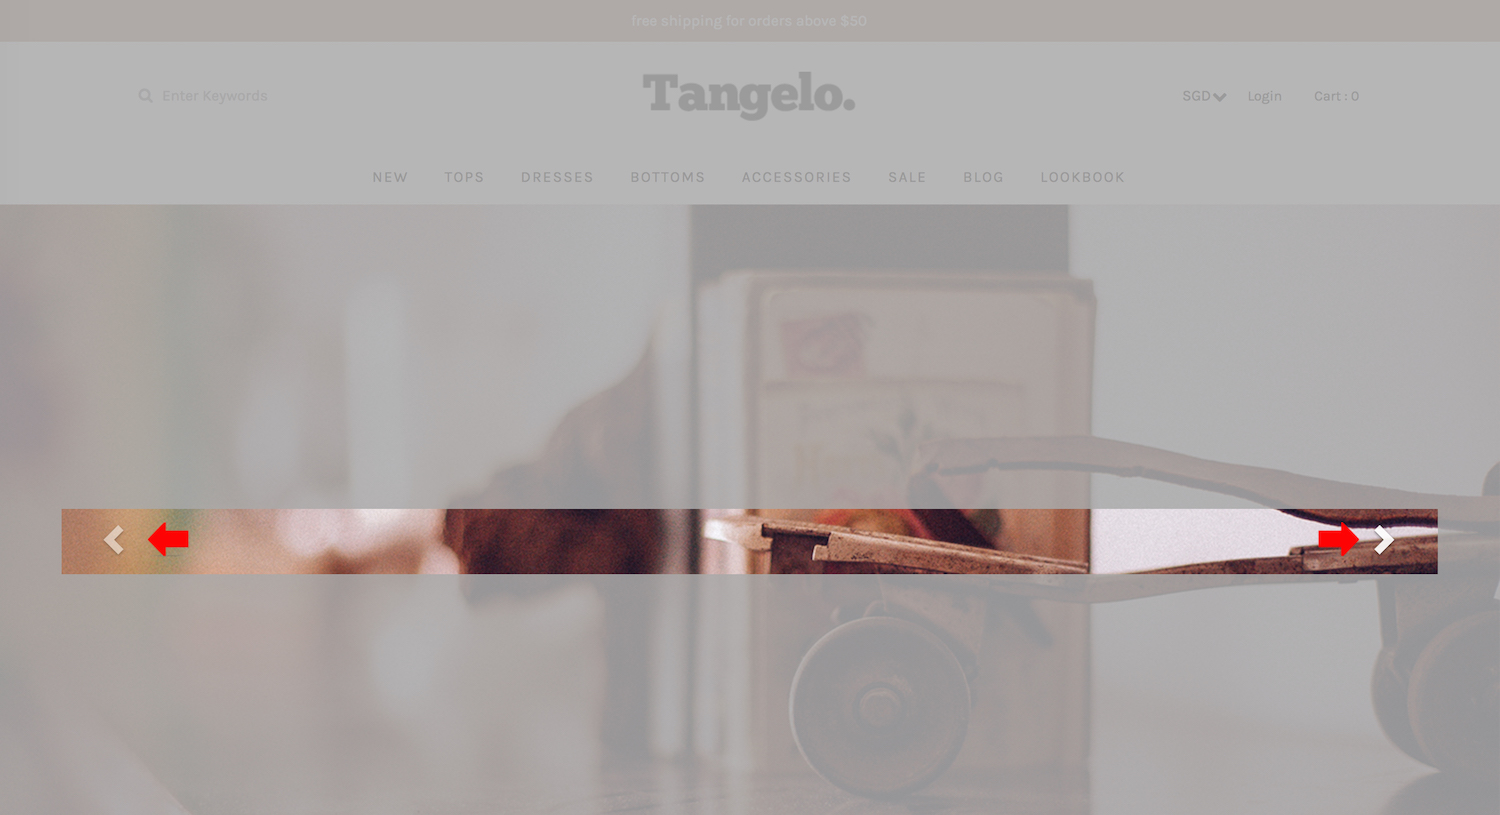
This is how a home banner looks like:

How To Upload Home Banner

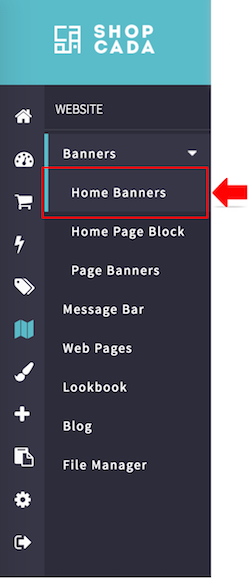
- From MANAGE YOUR STORE (DASHBOARD), go to WEBSITE then go to HOME BANNERS
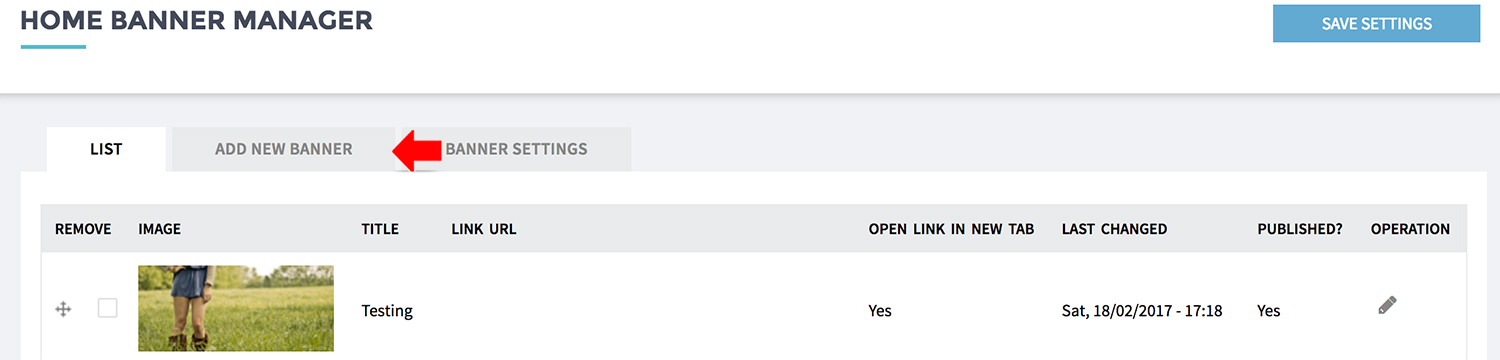
- Click [ADD NEW BANNER]
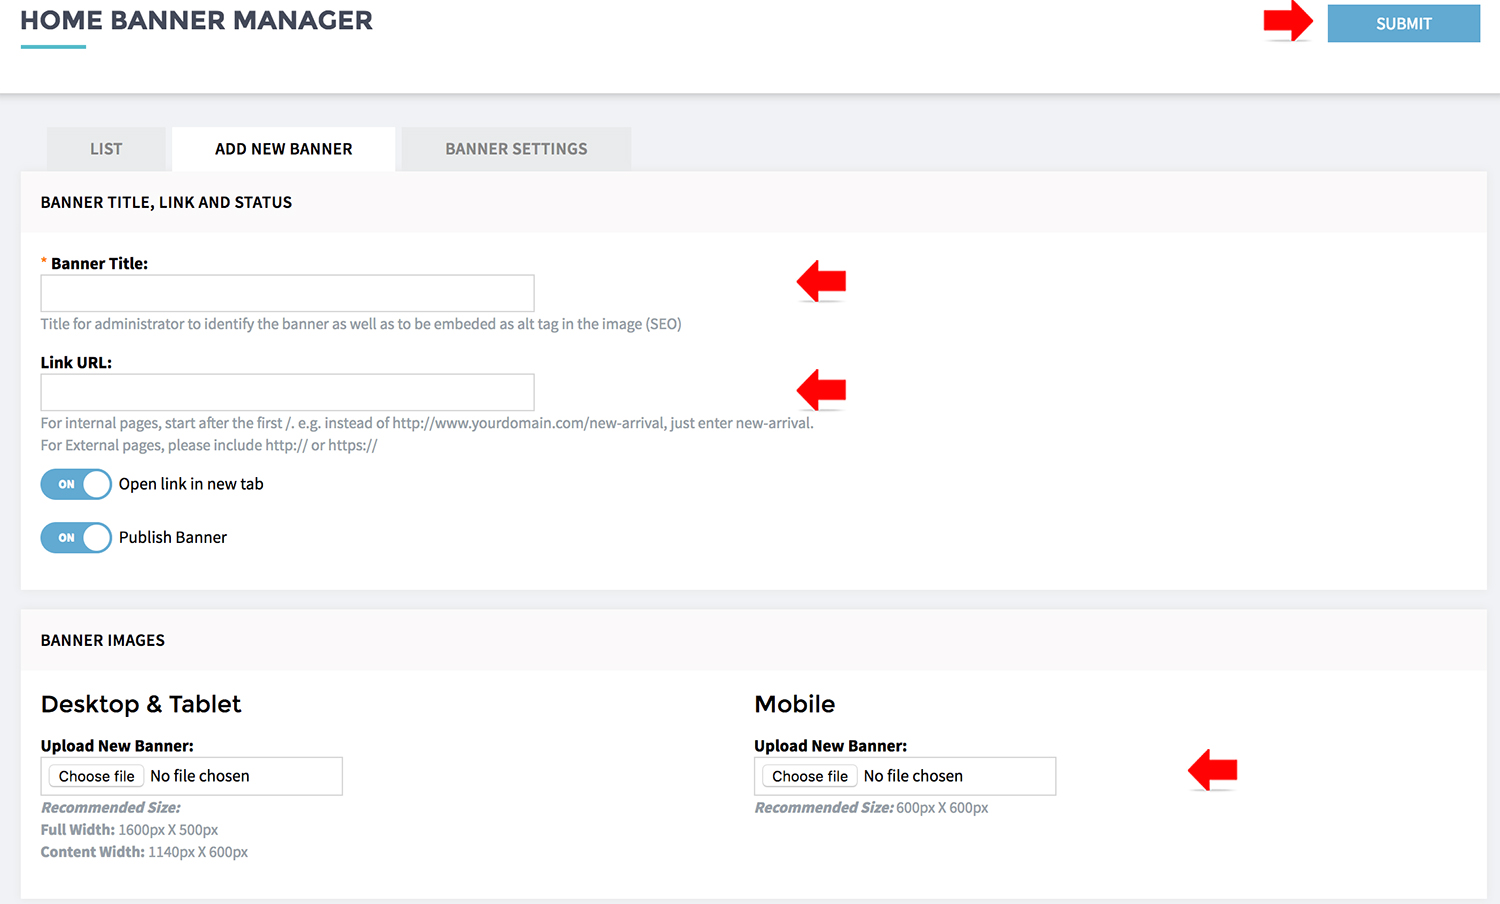
- Enter the [BANNER TITLE].
- [LINK URL] of the landing page URL for this banner, so visitors will dedicated to the page you offer.
If your link is within your website, you may turn this off, so the link will open in the existing tab.
If the link is an external link, e.g. your Facebook fan page, you may set this on, so your customer won't lose your website.
Set [OPEN LINK IN NEW TAB] as ON to set when click on the banner, should the link open in a new or existing tab.
- Turn on [PUBLISH BANNER] to publish the page to visitors.
Unpublished page will be kept in website but invisible to visitors.
- BANNER IMAGE: Choose a file to upload as your new banner image. Only JPEG, PNG and GIF images are allowed.
Recommended size for
FULL WIDTH Banner is 1600 x 640px
STADARD Banner is 1200 x 640px
MOBILE Banner is 640 x 640 px
- Click [SUBMIT] and the new banner is ready.
How to add home banner text
This is SEO friendly and text display will be sharp & clear.
If you do not see the banner description widget, please enable it at the BANNER SETTING. Guide here.
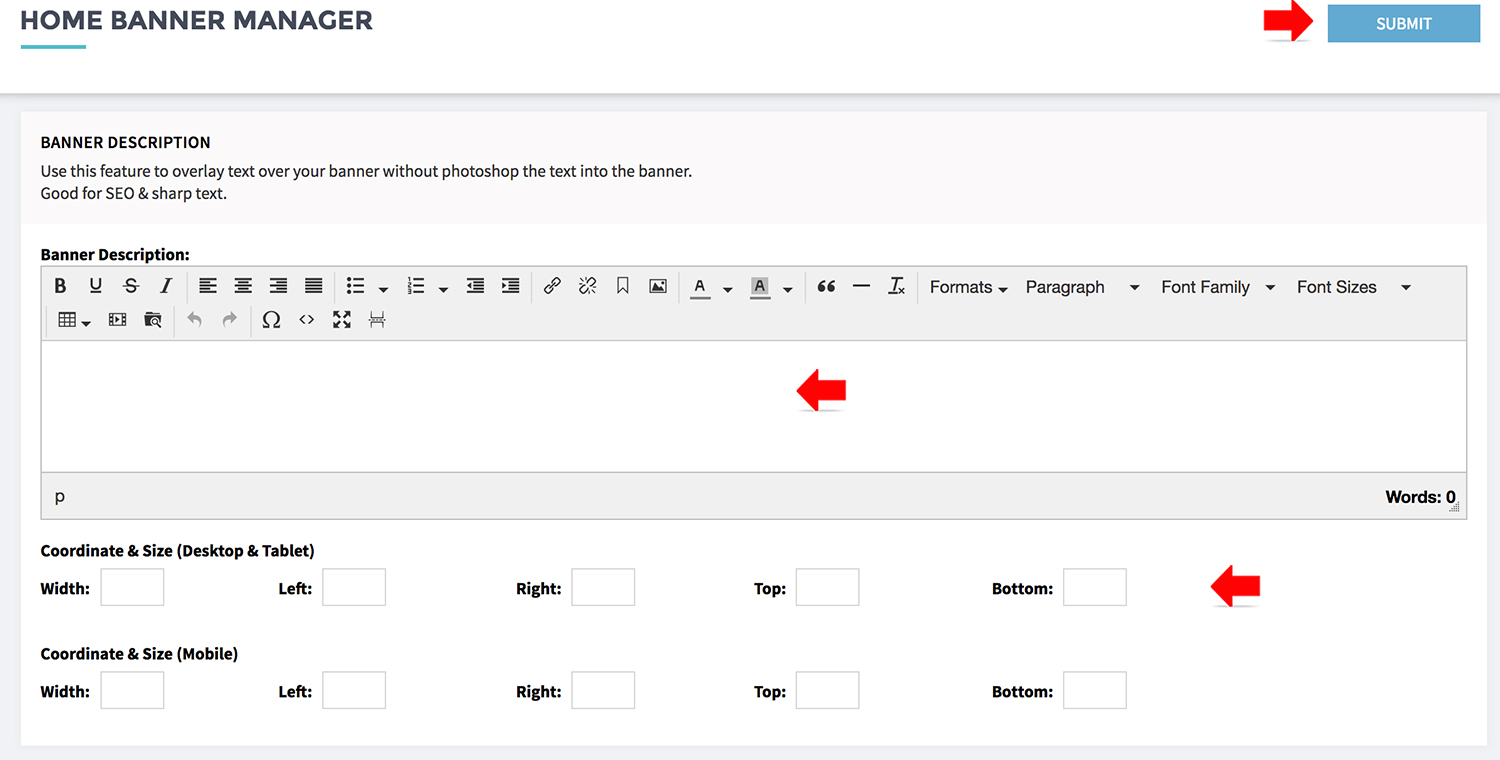
- Enter your promo message into the [BANNER DESCRIPTION]
- Use the [COORDINATE & SIZE] to control the text / paragraph placement on the banner.
More details on Coordinate and Size
Arrange Banner Display Sequence
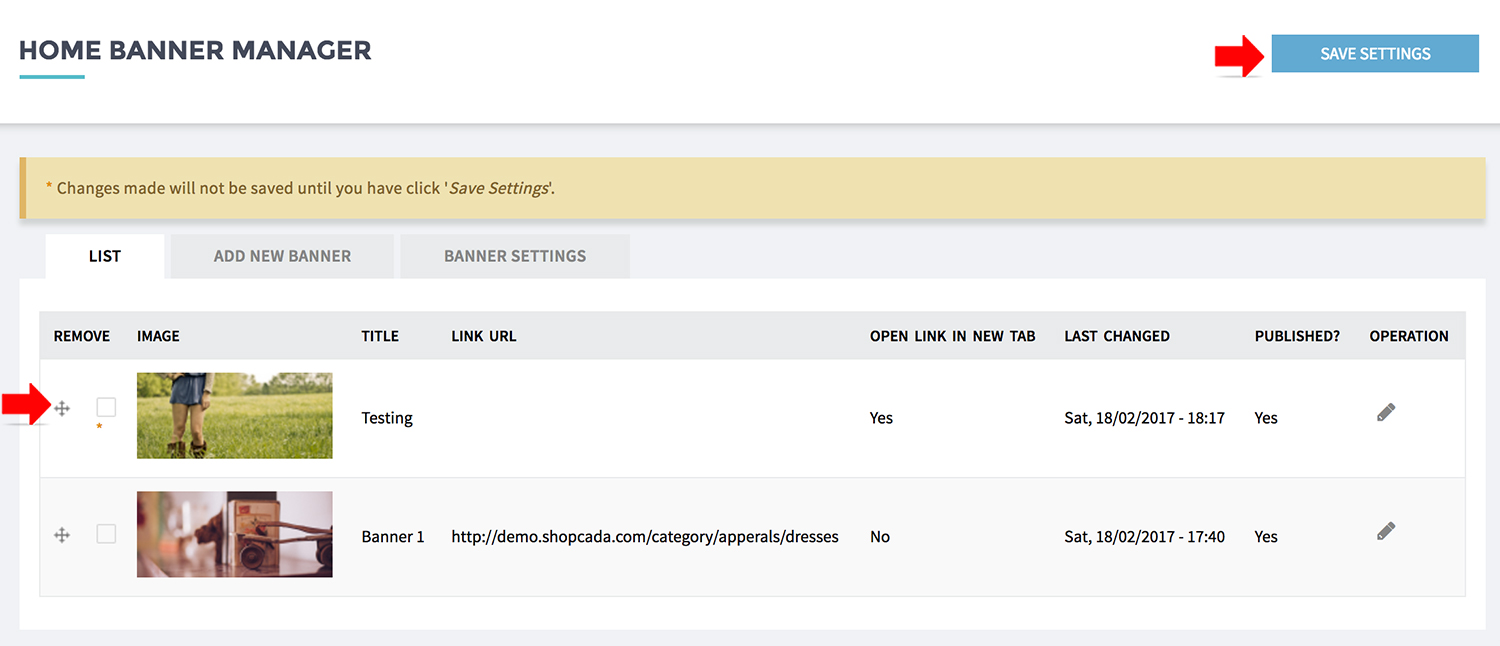
- From the banner listing page drag and drop the banners to the required position & form the preferred display sequence.
- Click [SAVE SETTING] to keep the changes.
Remove Banner
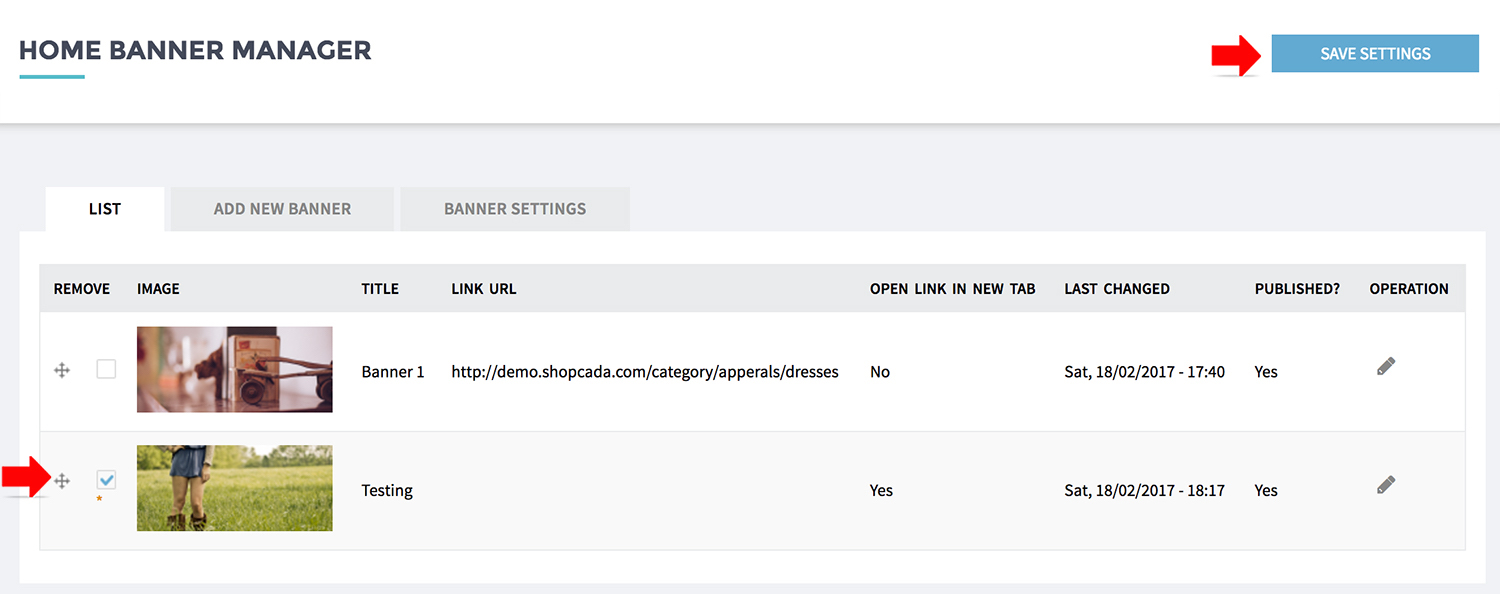
- Check the banner you wish to delete and click [SAVE SETTINGS].
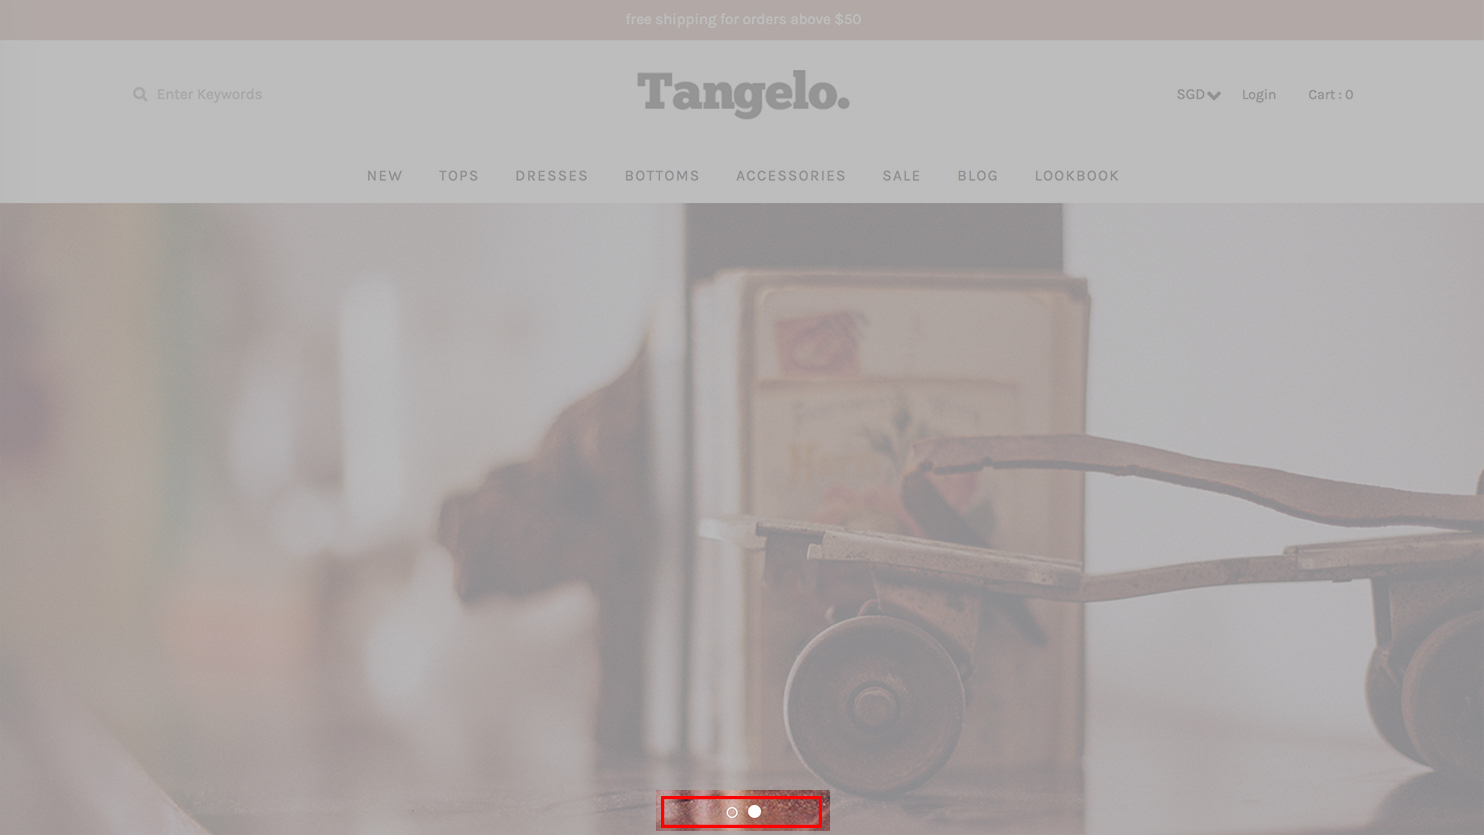
Banner Settings 1: Enable Pager

- From MANAGE YOUR STORE (DASHBOARD), go to WEBSITE then go to HOME BANNERS
- Click [BANNER SETTING]
- Turn on [ENABLE PAGER] to show the banner pagination. Pagination design depends on template. Usually it is a dot at the bottom of the banner.
- Click [SAVE CONFIGURATION] to make the setting take effect.
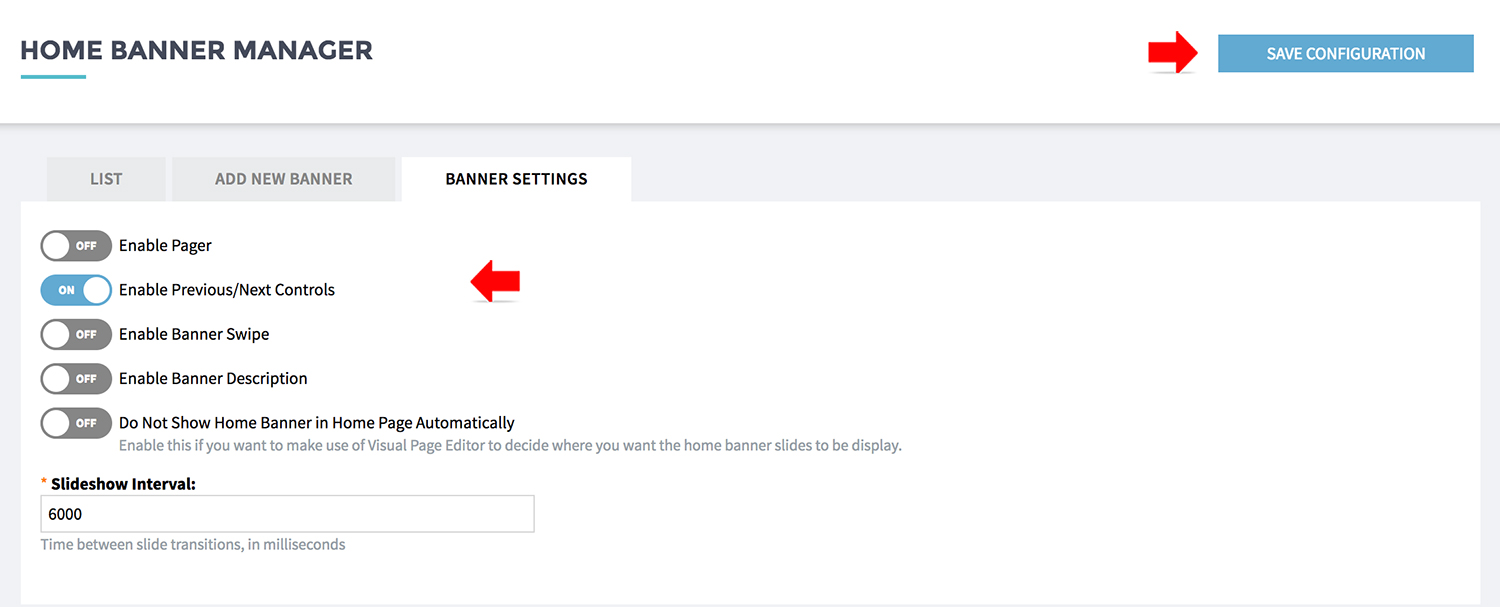
Banner Settings 2: Enable Previous/Next Controls
- From MANAGE YOUR STORE (DASHBOARD), go to WEBSITE then go to HOME BANNERS
- Click [BANNER SETTING]
- Turn on [ENABLE PREVIOUS / NEXT CONTROLS] so there will be left-right arrow available for visitors to navigate through the banners.
- Click [SAVE CONFIGURATION] to make the setting take effect.
Banner Settings 3: Enable Banner Swipe
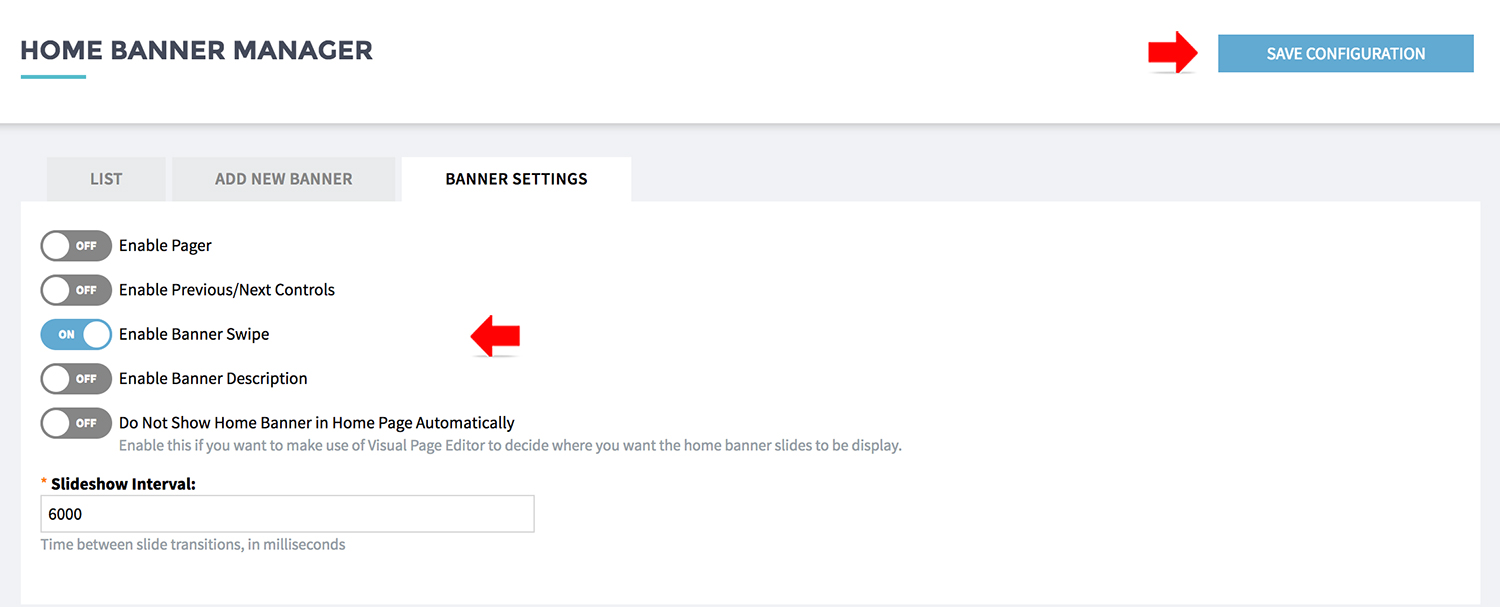
- From MANAGE YOUR STORE (DASHBOARD), go to WEBSITE then go to HOME BANNERS
- Click [BANNER SETTING]
- Turn on [ENABLE BANNER SWIPE] to allow visitor to swipe to navigation banners at mobile devices.
- Click [SAVE CONFIGURATION] to make the setting take effect.
Banner Settings 4: Enable Banner Description
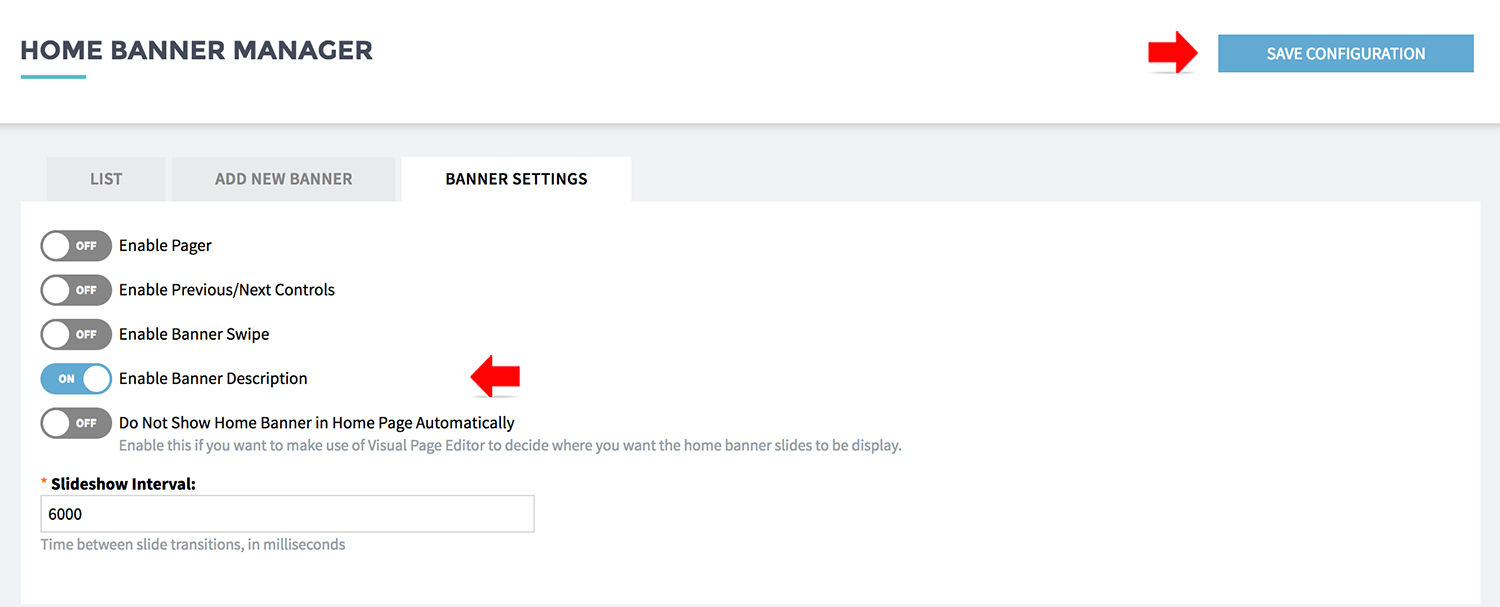
- From MANAGE YOUR STORE (DASHBOARD), go to WEBSITE then go to HOME BANNERS
- Click [BANNER SETTING]
- Turn on [ENABLE BANNER DESCRIPTION] to allow enter banner message as text overlay image. Guide here
- Click [SAVE CONFIGURATION] to make the setting take effect.
Banner Settings 5: Slideshow Interval

- From MANAGE YOUR STORE (DASHBOARD), go to WEBSITE then go to HOME BANNERS
- Click [BANNER SETTING]
- [SLIDESHOW INTERVAL] is the time between the slide transitions, in milliseconds.
- Click [SAVE CONFIGURATION] to make the setting take effect.