- Setup inventory location for retails
- Setup POS for retails store
- Setup staff member login
- Manage Message From HQ page
- General setting
Setup inventory location for retails
- Go to Manage Your Store (Dashboard) > Setting Product
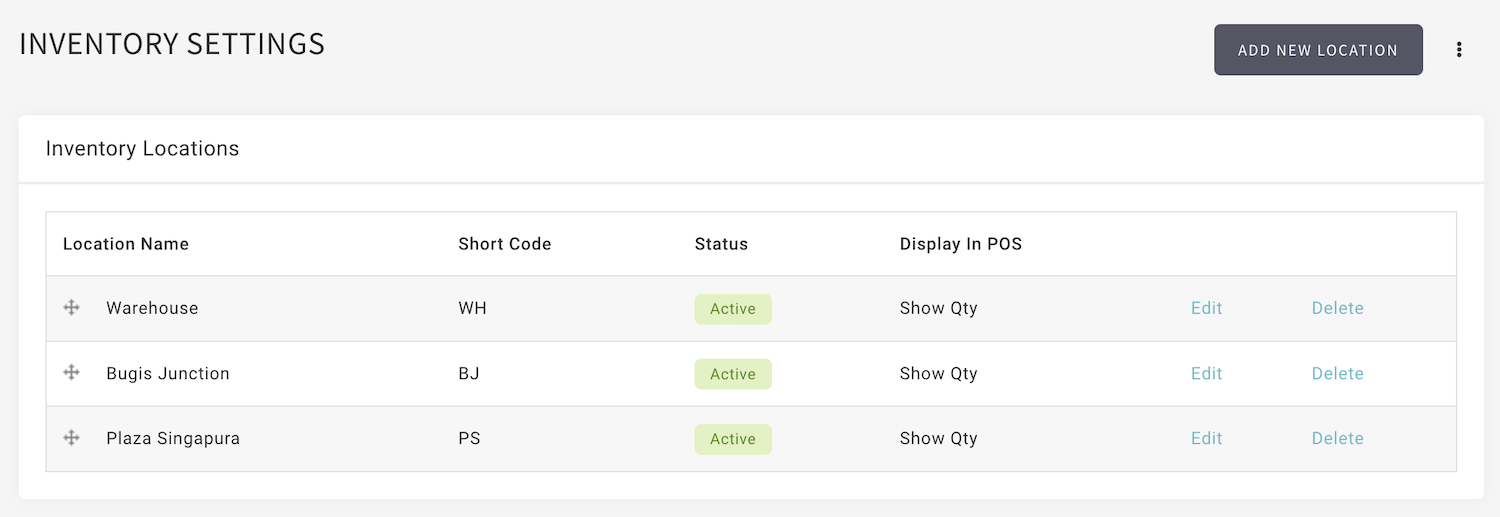
- Go to Inventory Setting
- Click [Add New Location] to add new location.
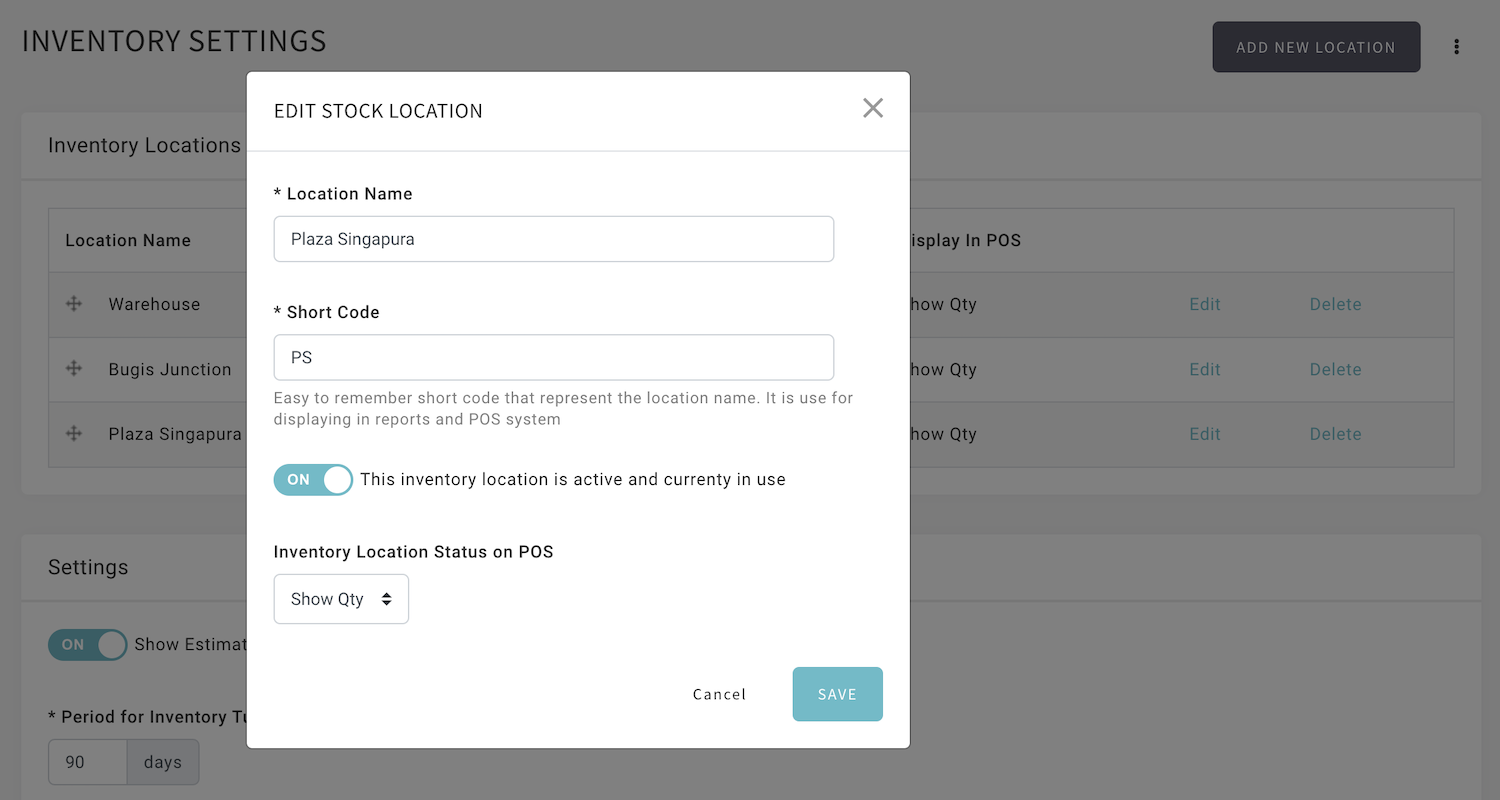
- Enter the location Name, Short Code, and Inventory Location Status on POS.
- Please select Hidden, Show Quantity or Show Quantity for Inventory Location Status on POS
- Click [Save].
- You may edit the location name and status.
- By default, all location are active. You can change the status by edit the location.
- You can remove a location when there is no stock under it. However, we do not recommend this, so that your report will be complete.
Setup POS for retails store
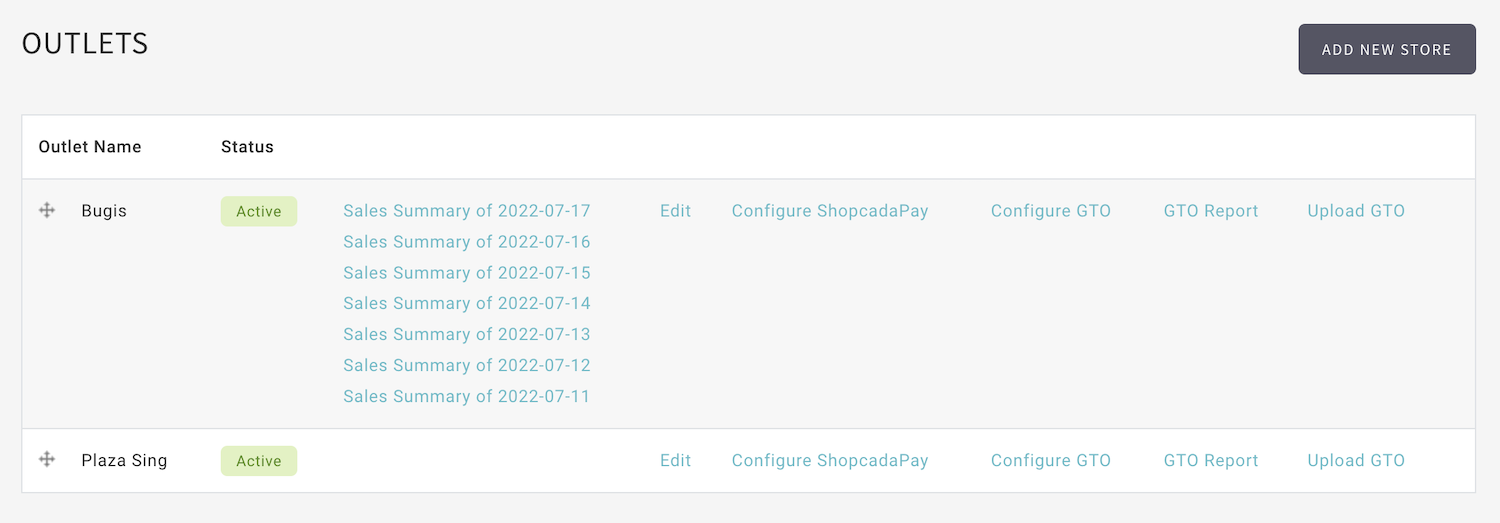
- Go to Manage Your Store (Dashboard) > POS > Outlets
- Click [Add New Store]
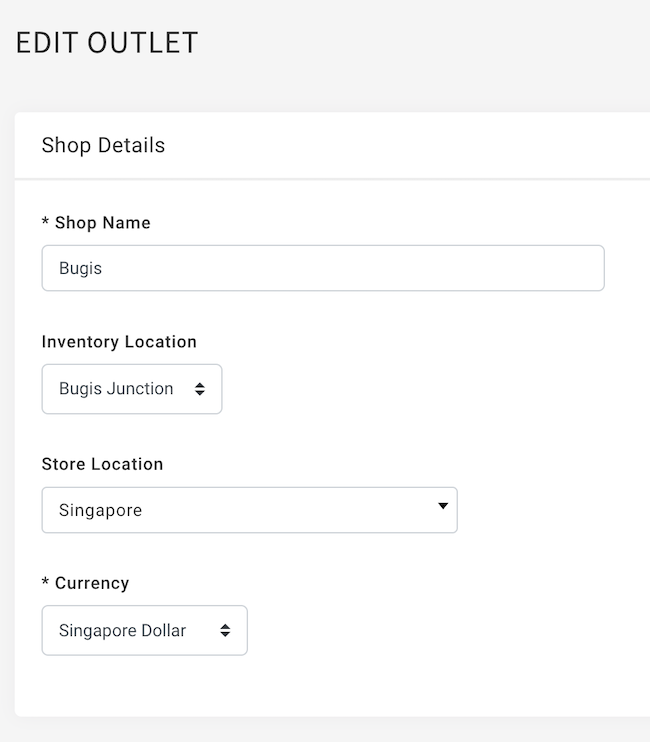
- Enter the Shop Name, select the Inventory Location, Store Location and currency for inventory update and currency.
- Configure the status of the outlet as active.
- For POS pairing , enter the Login ID, Password . You will need this to activate your POS with a subscription code issue by Shopcada.
- Select the Payment Methods you would like to offer at POS terminal.
- Configure the Number of Receipts print for every checkout.
- Configure the receipt header and footer. You may insert logo for branding. Recommended logo file width is 400px.
- Enter the Store Address if you offer online reserved or show store stock availability on your website.
- Enable the Tax if your business is GST registered.
- Click [Save].
Setup Mall GTO Integration

- Go to Manage Your Store (Dashboard) > POS > Outlets > Configure GTO
- Select the Mall type
Please contact support@shopcada.com if you don't see the mall you want to integrate with.
- Update the FTP details from Mall management
- Click [Save]
Setup staff member login
You may create login for individual staffs, so that you can keep track of sales handled by them.
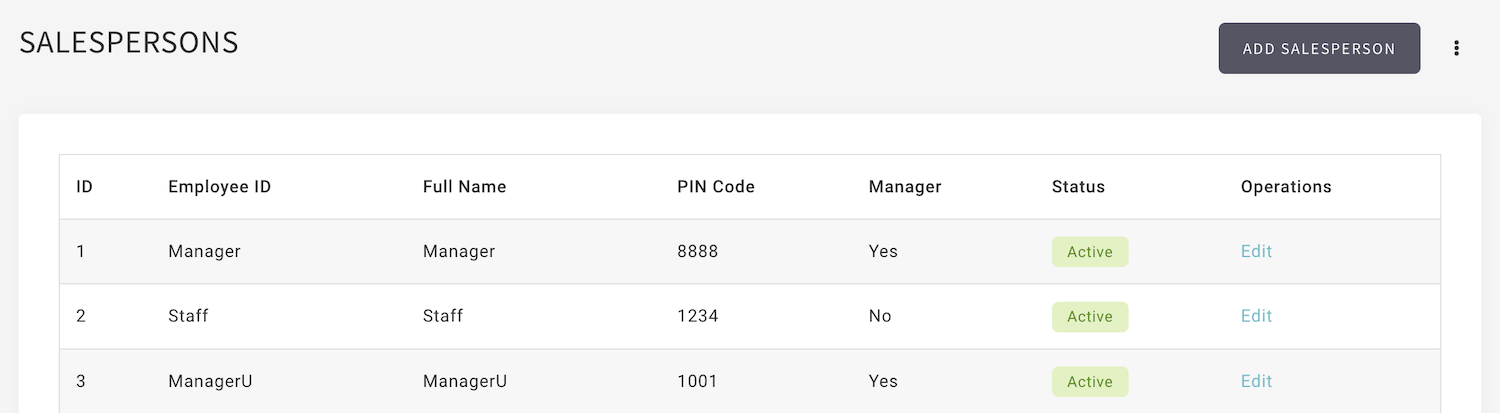
- Go to Manage Your Store (Dashboard) > POS > Staff
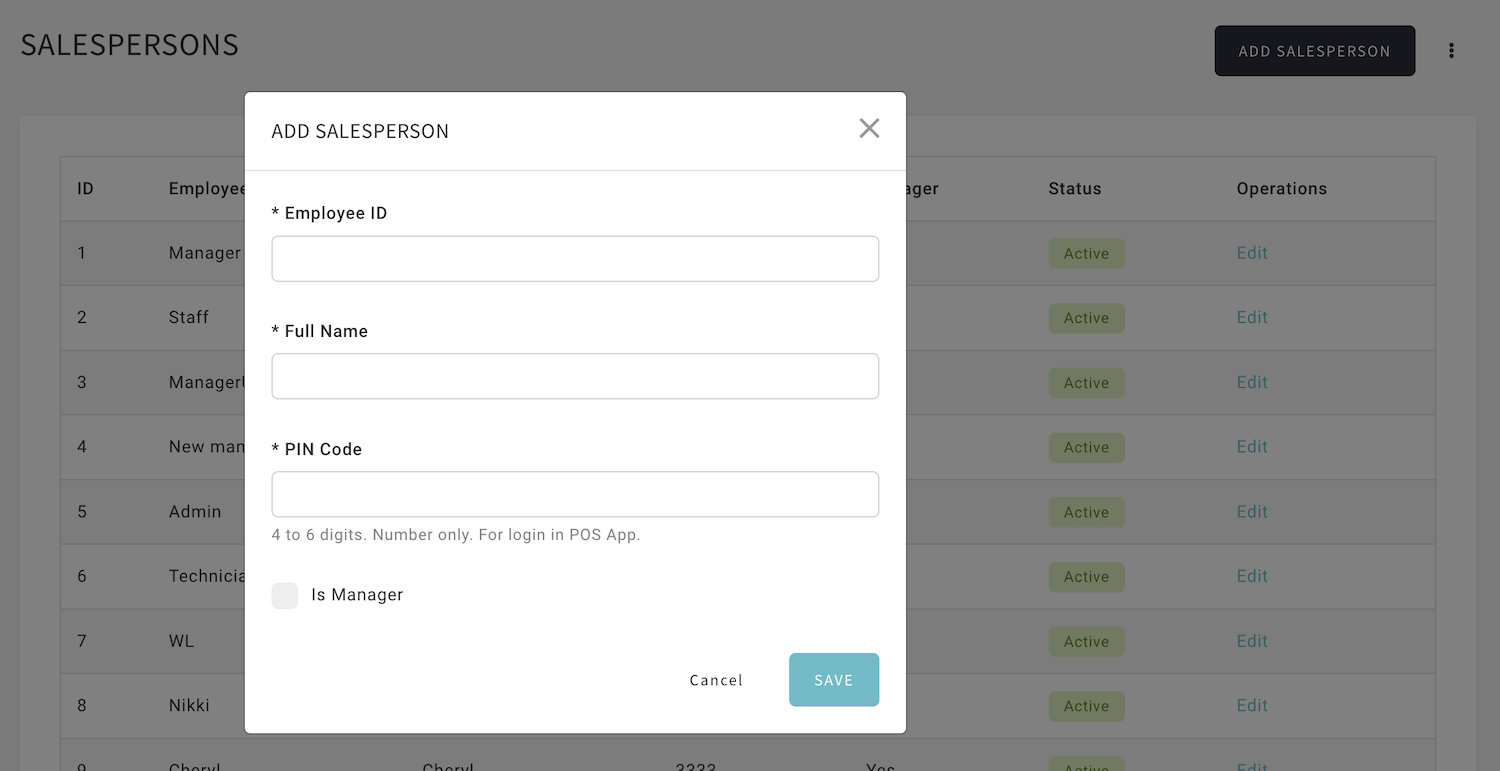
- Click [Add Salesperson]
Personnel with permission to Manage POS Staffs is allow to manage the staff login.
Guide on managing access permission here.
Manage Message From HQ page
You may setup this message page for communication from back office to the staff at retails.
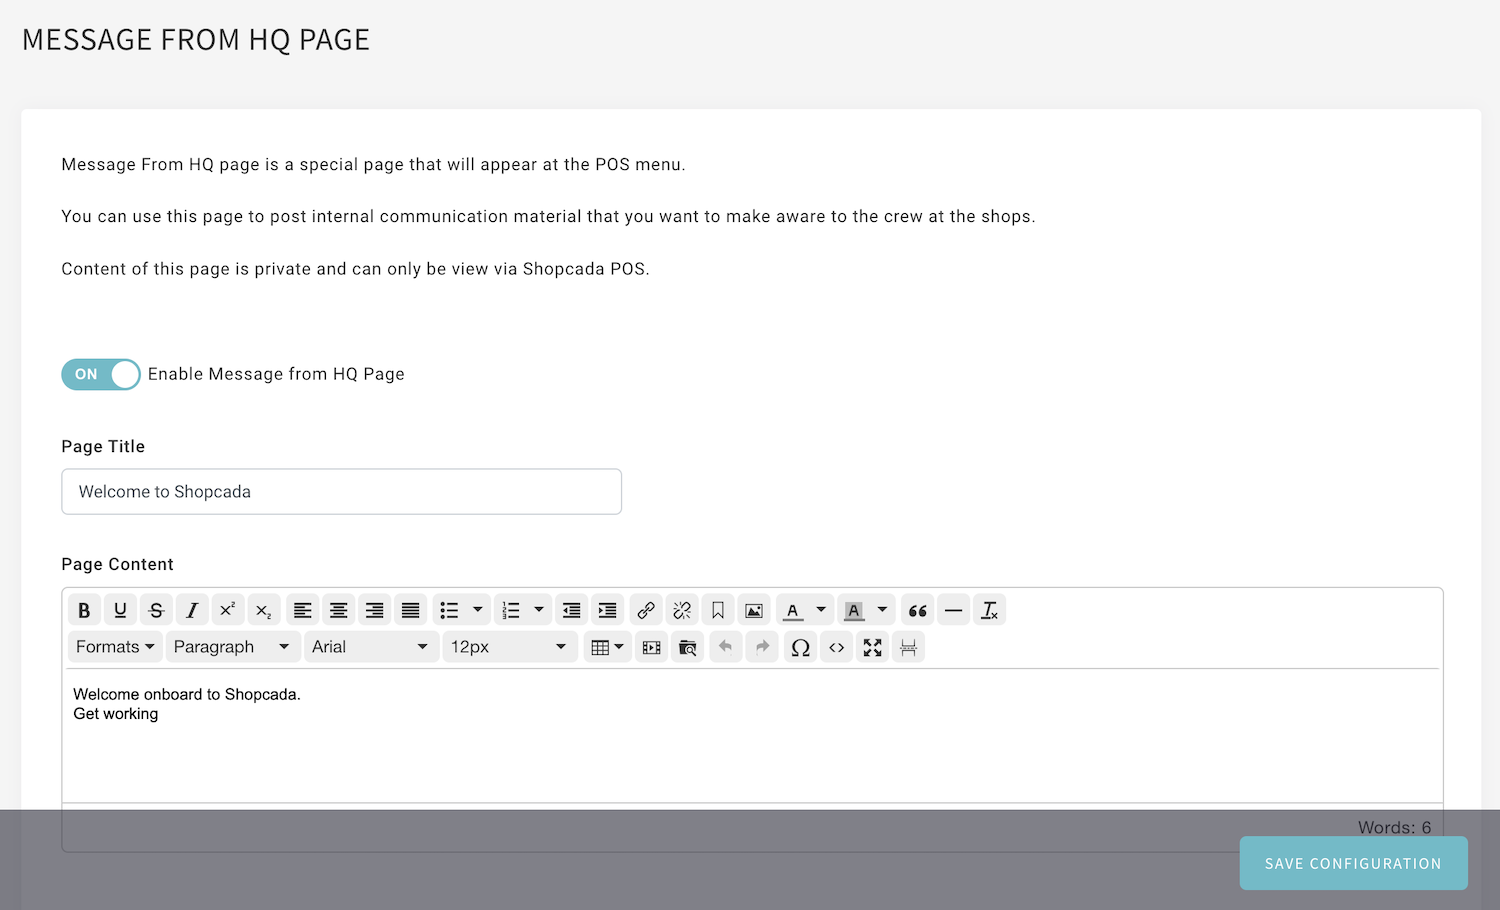
- xxxxx Go to Manage Your Store (Dashboard) > POS > Message From HQ
- Enable the page to make the content visible via POS.
- Enter content into the custom page.
- Click [Save Configuration].
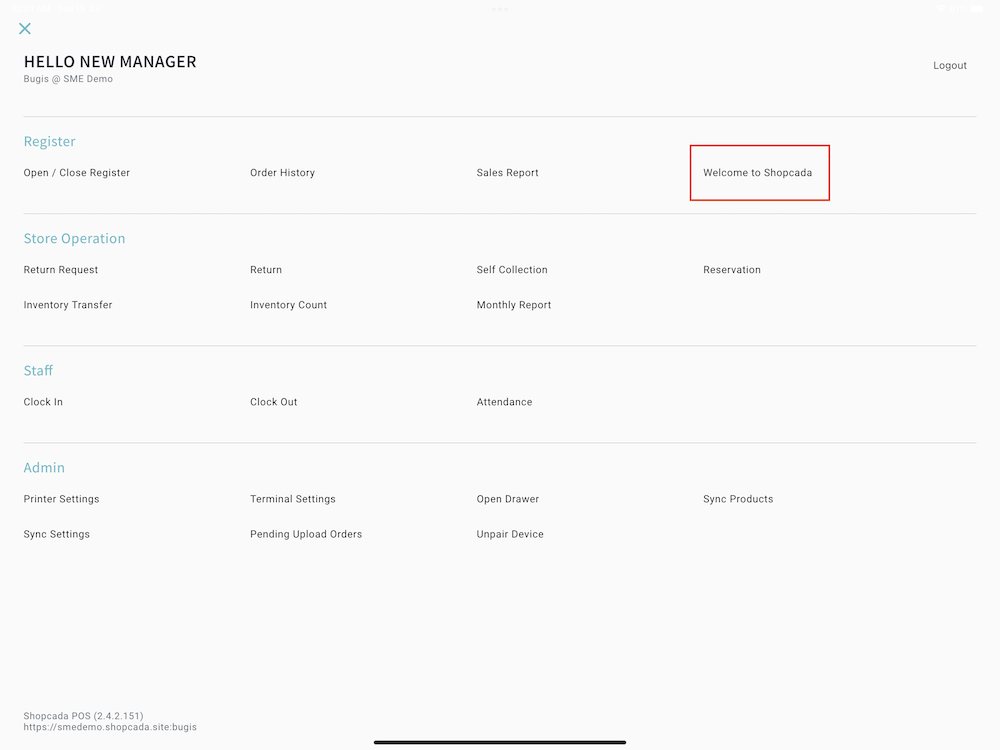
- To view the message at Shopcada POS, go to menu toggle, tap on MESSAGE FROM HQ.